Wednesday, February 19, 2020

Trail work in the Chiricahua Wilderness

Sometime in 2017

"a foolish consistency is the hobgoblin of little Minds. "

The Chiricahua Wilderness in SE Arizona, Sierra Club trail maintenance service trip for one week,  bucking logs (cutting downed trees) and grading the trail where needed at about 9,000' elevation .

After walking 2,000 miles on the Pacific Crest Trail PCT in 2015, I pledged myself to volunteer for trail maintenance.  This was the trip to fulfill that pledge.

Preparation. I was looking at either Capitol Reef or Canyonlands for a service trip, but then Lydia wanted to go on this one, with me.  I loaned Lydia my Osprey Exos 48 pack, thinking
 that she wouldn't take too much gear--her pack still weighed more than my Exos 58, even with the 41 ounce tarp and net tent in my pack. Maybe I should have given her the Exos 38. I brought my thru hiker gear, but forgot my down jacket, down pants and sleeping hood.

The trip leader said "get Personal Protective Equipment", which included:

  1. Quality high top boots.  I didn't have any such thing for hiking.  I tried to imagine how that would help "protect" me and failed--the trip leader couldn't really provide a reason beyond "protection." After the trip, I couldn't recall any situation in which they would have prevented injury, other than a rolled ankle that I never suffered in 2,000 miles of hiking the PCT wearing trail runners. I bought a $20 pair of high tops from Big 5 and wore them for the work detail.  Everyone else wore high tops, overkill for trail hiking.  I wore trail runners for the hike into/out-of basecamp.  The boots, laced only as much as I would have for trail runners, were easy to walk with.  I donated the boots before boarding the plane back to Seattle.  "Quality" didn't mean $100 boots for me.
  2. gloves.  I sent a picture of my gloves, the thin ones with which you can almost pick up a dime.  He wrote back yes that'll do.  Thorns easily penetrated them. Acht.  
  3. eye shields.  I sent a photo of some 3M shields that provided coverage over glasses, front and sides.  Yeah, he wrote.  During the demo of sawing technique, he said, no you don't have to get them out.  I never used them and he never commented. Ugggt.
  4. Long sleeve shirts & pants. Trip leader approved of REI Sahara convertible nylon pants.  I saw some $20 pants at Big 5, but not in my size.   I walked to/from basecamp and the work venues in my Patagonia boxer shorts.  I endured a few scratches from some shrubs that hung across the trail, but nothing more.  I brought jeans for the work days--protective, but heavy.  Arrrgh.
  5. Hard hat. Provided by the Forest Service.  Unventilated and just damned hot.  

Everyone else complied without complaint. I wanted everything just right.

For all that fuss, I still got a minor cut from a saw blade whose end tooth wasn't covered by the blade guard.
Many saws didn't have proper blade guards, and some participants were cavalier about safety around the blades.

Food fight. Ann the cook and two trip participants worked each p.m. and a.m. to make meals for the group in an attempt to feed everyone without offending. It largely succeeded.
I couldn't guess the caloric values of the food fed us, but it wasn't enough. I was  hungry 2-4 hours after dinner. Each night, I ate the nuts I bought for such cravings, and ran out on the fourth night. After that, I raided the food boxes and found the peanut butter, bread and olive oil.  I didn't bother to get my spoon to measure out the olive oil--I just took a few sips straight from the bottle.  When you're burning calories at high altitude (>9,000') you don't care where the calories come from--you get 'em.

The high mountain desert air was so-o-o dry, our noses bled just enough for scabs to form inside our nostrils--we were pulling out small pieces of it to decongest our airways.


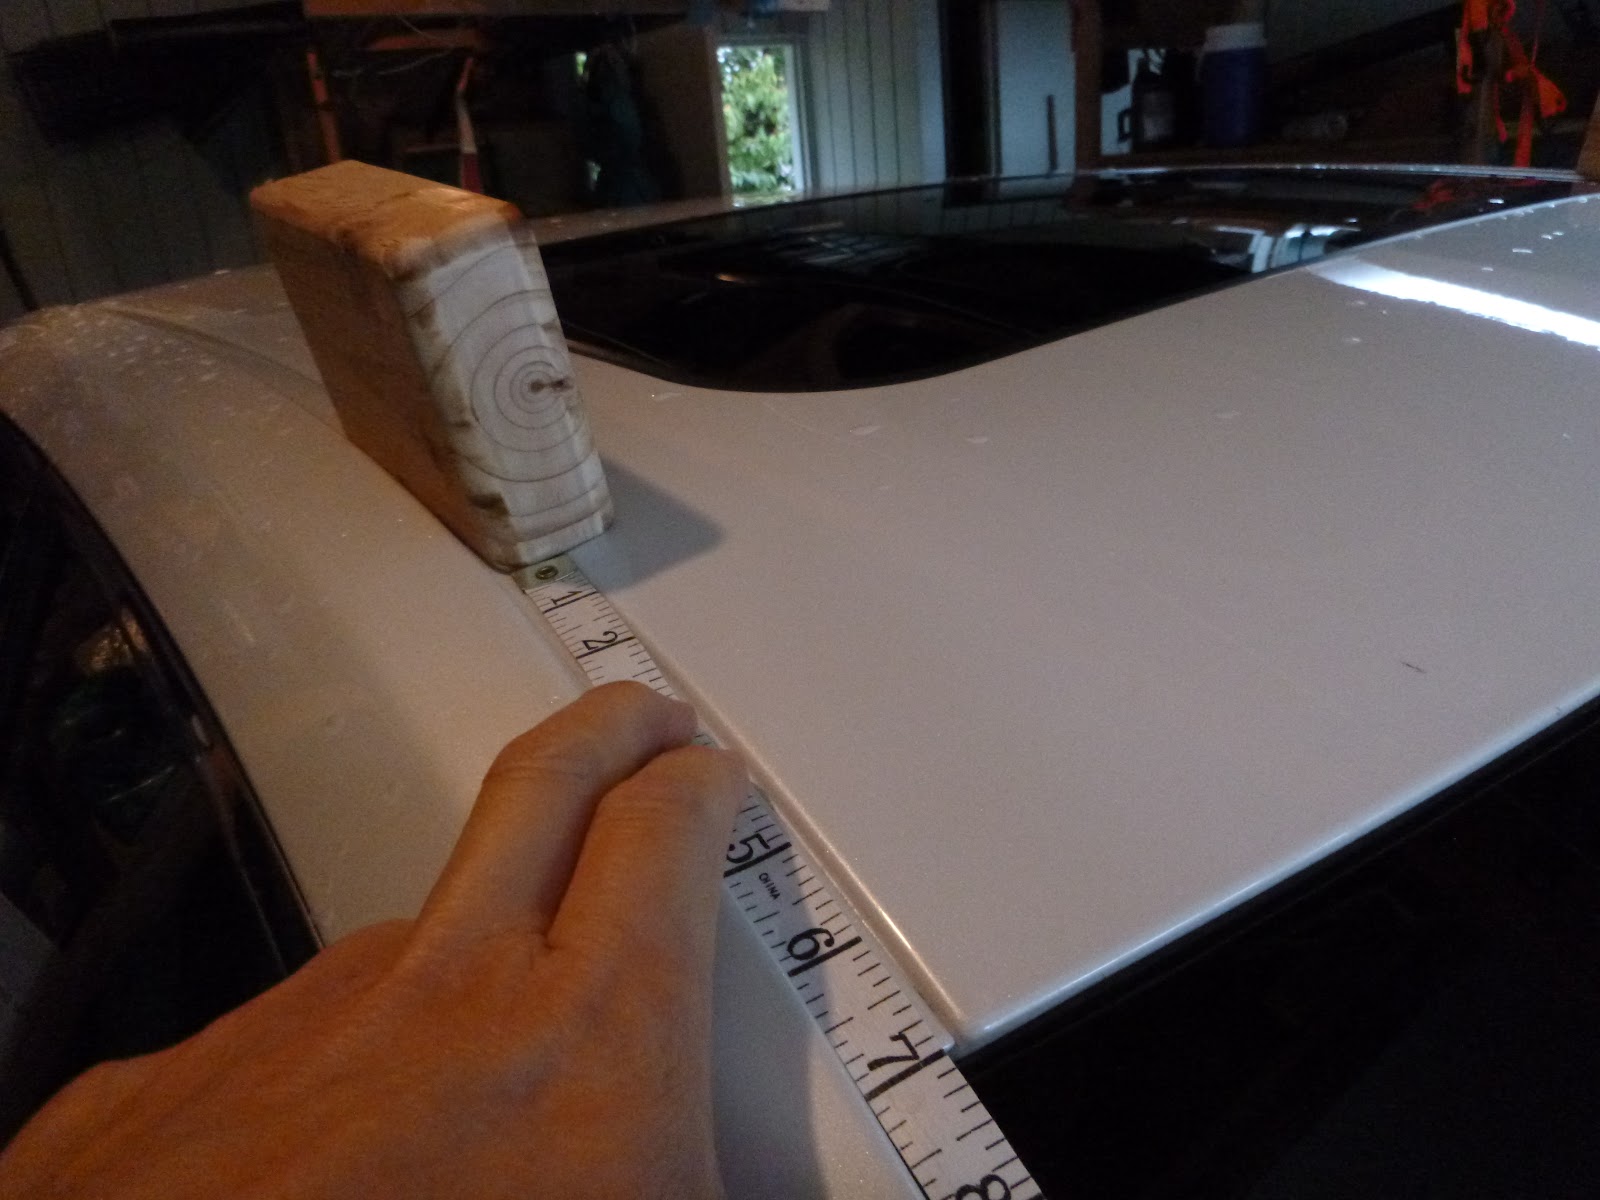
As for the trail work itself, trail crews use the acronym OHLEC for approaching a log.  O for Objective: remove the part of the log blocking the trail.  H: Hazards, like overhanging trees/limbs or loose debris that could cause workers to lose their footing.  L for Lean/lie of the log, i.e. which part of the log would be under compression forces and which under tension forces.  E for Escape route, for how you'd position yourself before and after the log started to roll.  C for Cut plan, as in cutting from above/below/ angle of cut(s) to facilitate the cut piece's roll from the log/things to put under the log to change the direction of the roll after the cut.

I learned some things. The best situation is to cut on the tension side, but if you have to cut on the compression side you can hammer a wedge into the cut once you have enough of the blade into the log.

"Butt rolls" were pushes with the soles of the feet on a log with the legs from a sitting position above the log.  That was fun when several people combined their power to move logs.

Base Camp
We base camped 3.5 miles in from the ranger station at Rustler Park next to a well built cabin down the Greenhouse Trail.  Cima Park Fire Guard Station near Douglas, Arizona was built in 1934 by the Civilian Conservation Corps. It was listed on the National Register of Historic Places in 1993 for its "vernacular, log" architecture. It was designed by the USDA Forest Service and served as institutional housing. The listing included four contributing buildings (a cabin, a toolshed, an outhouse, and a barn). I didn't see a barn. Two dead trees, 80 and 120 feet high stood about 100' from the cabin, and though neither seemed about to topple, fearless leader warned against camping anywhere close. Seven people set up their tents within range of those trees. No one stayed in the cabin, as it had a few mouse droppings, (risk of Hanta virus?). Lydia and I camped just out of the trees' striking range under my Ray Jardine tarp. The tarp effectively tempered the sun's power while I napped and allowed cool air to flow through. Once I added the net tent, to add another layer to protect the air mattresses from the ground, it was as hot as every other tent.

On day 6 on the way to the work site, I got a bad left sided headache along with excessive fatigue for an easy walk--I knew getting altitude sickness.  I returned to camp  unaccompanied for meds (Diamox and nifedipine) I'd brought with me. The sweeper decided that I had enough experience to return alone.  In camp, I napped for a hundred minutes and exerted myself minimally for the next 48 hours. My only task was to move the sunshower bags to keep them in the sun all day. Neither the Basecamp nor the work site had cell coverage.  I and no one else had a Garmin Explorer-- the group wouldn't know I was ok until they got back to camp at 4 p.m.  After  the trip, and the descent to 4,200' it took a day before i felt "normal".

"Foolish consistency" Nearly everybody "learned" to backpack in a camping store, where the goal was to sell us as much gear as possible. They probably asked how long a trip we were planning, helped us select a backpack and then took us through the store, picking up everything that we'd  "need".  If everything spilled out the top, we bought the next larger size pack.  No one but I had the benefit of having hiked a long trail (Pacific Crest Trail) and the lessons of how to keep a backpack light, safe and comfortable. 

Bottom line on the trip:. It was my last service trip at high altitude and maybe my last trip cutting logs. I'm not sure I like group camping.  Not very many people know much about altitude sickness.

DIY roof rack v. 2.0


I've already built this. I'm just showing how I did it.  I don't have pictures of the finished rack, because I can't find them anywhere. Just maybe my Verizon cloud account has one that I can download for this blog post.  I've dismantled the rack to be used in other projects.  

This is the only DIY project I've seen for a roof rack for a sedan that doesn't involve welding, or running a strap into the inside of the car.  Undertake this project:
  1. if you already have some tools
  2. if you don't trust the products from Yakima or Thule for your car
  3. If you're cheap like me 
  4. If you just like to tinker, or
  5. a combination of the above
For me, the Yakima clip would start to slip off twenty minutes after I'd cinched it down on the door jamb.  I didn't want to risk broken boats or bikes and damage to the finish on my car if it slipped off at highway speed.

You need tools:
  • Tape measure or yardstick
  • Level 
  • 4' long straight edge 
  • Power saw or hand saw
  • Waterproof wood glue
  • Epoxy cement.  Wood flour or saw dust to mix the epoxy into a paste.
Other things you need:
  • 2 boards 1x6x6' I cut each to 1x6x56"--these are your two load boards that will hold lumber, boat mounts, etc.  If you want shorter/longer load boards, plan accordingly.  Narrower boards may hum more when the wind strikes them.  Actual measurement of these boards in cross section: 3/4" x 5.5"
  • 2x4 four pieces 5.5" long. These will be the towers that hold your load boards. note about 2x4's: they actually measure 1.5" x 3.5
Make the load boards.  Boards cut to 1x6x56".  Aerodynamic shaping for noise reduction:  Sand or rout the leading corners of each board & make a 1" or longer taper for the rear edges.

Making the rack towers. Cut 4 lengths of 2x4, 5.5” long.  Lay them on the 1.5” x 5.5” side and mark the centers on the top sides. 

Position the 2x4's on the roof about where you think they might work.  The tops of the blocks won't be level for most cars, nor will they be at the same level from front to back.  Orient the blocks in line with the long axis of the car--don't line them up with the roof structure--If you feel the need to be exact, find the midline of the car and use as a guide for the rack tower positions.  Position them so the front corner of the front tower is level with the rear corner of the rear tower. 

In this photo, the tops of the front blocks don't line up with the tops of the rear blocks. The front corner of the front block is slightly lower than the rear corner of the rear block.
Trim the bottoms to bring the tops level and in line from left to right--use a level and a pencil.  Then trim the tops to bring them level and in line from front to back. Lay the load boards across and check for contact.  It doesn't have to be exact--then, shape the towers for aerodynamics.

P1000654.JPG
On my 2013 Toyota Avalon, the bow pieces go 7.75” from the windshield and the front end of the stern pieces trail the front end of the bow pieces by 39.5" I didn't align the block (as shown above) with a structural element of the roof because it might have made trimming it more complex.


This shows the alignment of the front block after completion.  The difference may be subtle and may not matter, but I wanted as little as possible to mess with the build.
 
All four blocks mostly shaped for prime time.
This is one of the blocks after reshaping for the roof configuration.

 
The rear blocks after shaping.  The straightedge shows that I've shaped it about right.


Measure the distance from left to right of the front pair (42.75" for my Avalon) and then of the rear pair (42").

Front rack  Subtract 1/4" from the 42.75" separating the towers as measured above= 42.5"  Subtract 42.5" from the length of the load board 56" =13.5", divide the result by 2 = 6.75"   Measure 6.75" from one end of the load board and mark, and make marks 3/4" on each side of that, then on the other end of the board 42.5" away, make similar marks to these.  Cement the towers using those marks--use epoxy thickened with wood flour/sawdust.
Epoxy mixed with wood flour.  Thick enough not to sag.

Rear rack  Subtract 1/4" from the 42" separating the towers as measured above= 41.75"  Subtract 41.75" from the length of the load board 56" =14.25", divide the result by 2 = 7.125"   Make a mark 7.125" from one end of the load board and make marks 3/4" on each side of that, then make similar marks 41.75"  from thoseCement the rear towers to those marks.
Let the epoxy cure indoors, overnight.  Clean up spilled epoxy immediately with a rag and vinegar.


Aluminum attachment clips and bolt:

Each assembly attaches to the car with a bolt and clip scheme.  The clip is riveted to a stiffener plate that hangs from the load board.  The clip bends at the bottom end to conform to the door jam.  The bolt runs through the rack tower horizontally and through the clip.  . 


Bolt length.  The bolt should be stainless steel for my part of the country, but it can be zinc plated for Las Vegas or Phoenix.  It can be a threaded rod with nuts and washers or a carriage bolt.  I placed the front assembly on the car in the position described above, 7.75" behind the windshield.  I placed the back assembly 34" behind the front.  The measurements for the threaded rod used to attach the door clips: the distance from the tower to the point above the car door jamb plus 1.5" for the thickness of the tower.  Add 3/8" for a nut and washer on the medial side of the tower.  Add 1" for a nut, a washer and a hold-open length to hold the clip in position against the car.  For the front of my Toyota,  3" + 1.5" + 3/8" +1" = 5 7/8".  I'm using 1/4" stainless threaded rod.  I haven't looked for a 6" long carriage bolt   Rear bolt:  3 11/16 +1.5 + 1" = 6 3/16"

Clip length.  I used an app on my phone called Clinometer to find the angle I would need to bend the clip to match the sheet metal of the car's door jamb where it turns in. Use a protractor and a level to find this angle if your phone can't do that.  The clip mounts to the load board in a vertical position. Clip material:  1/16x1.25 aluminum.  About 5/8" will extend past the end of the thick piece and will be bent to follow the door jamb.  Both Front & Rear clips are 4" before bending.


 Clip stiffener:  1/8"x 1.25" aluminum.  length:  Front:  4.5"  I could not achieve the 90 degree bend at the top end in my home shop safely & easily.  I cut a 1" long chunk of this 1 in. x 1/8 in. Aluminum Angle Bar in lieu of bending:

Oops, the aluminum flexes.  maybe time for steel or plywood.

The whole project has been cancelled, due to my ;replacing the car for my dream car, a Tesla Model S.


Bellevue to Aberdeen

Four o'clock on a Thursday (December 19, 2019).  Not a great time to drive from Bellevue to Aberdeen, but a drenching rainstorm slowed everything even more. Driving a new Tesla Model S made the whole ordeal bearable and interesting. For one, the 17" center screen displayed Google maps and navigation, helping me avoid the worst delays and showing me, by the color of roads (red, orange, etc) where I could expect to wait. Two, the regeneration driving mode made slowing down easier and dramatically reduced the dance between the "gas" and brake pedals. Three, adaptive cruise control kept me from tailgating slower cars. Four, the car has good isolation from road noise, better than the '13 Toyota Avalon. Five, the car rides comfortably--better than the Avalon.


Sunday, February 16, 2020

Egg custard

This Chinese egg custard is my all-time #2 dish. (I'd never say #1, because for a different time and event something's always better)

It is amazingly simple to make, with only two ingredients for the star of the show. The toppings are only oil, soy sauce and cilantro (green onions, for those who dislike cilantro)
,
As for the equipment needed, I use a glass pie dish, a wok large enough for the dish to fit inside, a cover for the wok and a metal stand to raise the dish within the wok. If you don't have a stand, you can stack enough small plates on the bottom of the pan to keep the pie plate above the inch of water that you'll have in the pan. The cover for the wok needs to fit well enough to keep steam inside the pan. Link for a stand sold at Amazon. (doesn't open a new window--I don't get any bling) 

Placing a plate onto a stand over boiling water or removing it from the same can be tricky without a lifter.  Click on this sentence to link to an Amazon list of lifters.


For this dish, I break four or five eggs into a large measuring cup, noting the volume and add the same volume of water to the cup. Stir briskly and pour into the pie plate. Put an inch of water into the cooking pot. The stand/stack of plates goes into the water. Cover the pot and heat the water to boiling. When the water begins to boil. lower heat to medium and lower the plate onto the stand. Cover and set a timer for 9 minutes. At the end of that time, lift the lid and check the custard to see whether it has reached the consistency you want.  If still a liquid, cover and continue to cook another minute, opening and checking again. Repeat until you like what you see.  If it's overcooked, the custard will have holes and be stiff, which isn't the goal for most.

Lift the plate out. Pour a thin layer of olive oil (sesame oil if you're into that). Spritz lightly with soy sauce. Garnish with the greens of your choice and love your food.

Tesla new car referral Code

If you're buying a new Tesla car and don't have a Tesla owning friend who'll give you their referral code so you can get 1,000 miles of free Supercharging, you can use my code (https://ts.la/jeffrey38928) or click on the link below. 

The person whose code you use gets a tiny bit of bling when you enter it when buying a new Tesla.

At this time, Model S and Model X buyers get free Supercharger miles, though that can change. Model 3 and Model Y buyers pay for Supercharger use--the charge per kWh is currently $0.28 (still less than half what you'd pay for gas for the average gas car)

https://ts.la/jeffrey38928 

You also get a little bling when you get Tesla solar panels--$250 with system activation